Khanakat Web v1.0
You can obtain this website here.
Setup Frontend Web
Install PHP
Download PHP 7.2 stable version. Unzip to a folder on drive C or you can choose any other drive of your choice.
Install Composer
Download and install Composer to be able to install the project's dependency packages.
During the installation there is a part where they will give you the option to select a
CheckBoxto define the Path of thephp.inifile, which is in the folder where you unzipped the PHP files.
Install frontend dependencies
Now we can put the frontend website files in some directory where we want to host the website. If this is in a local environment you can choose any location on the machine. But if it is in some Web Hosting it must be in the root folder (public).
We can open the web project using VSCode or any other code editor. Now open Terminal and run the command:
composer install
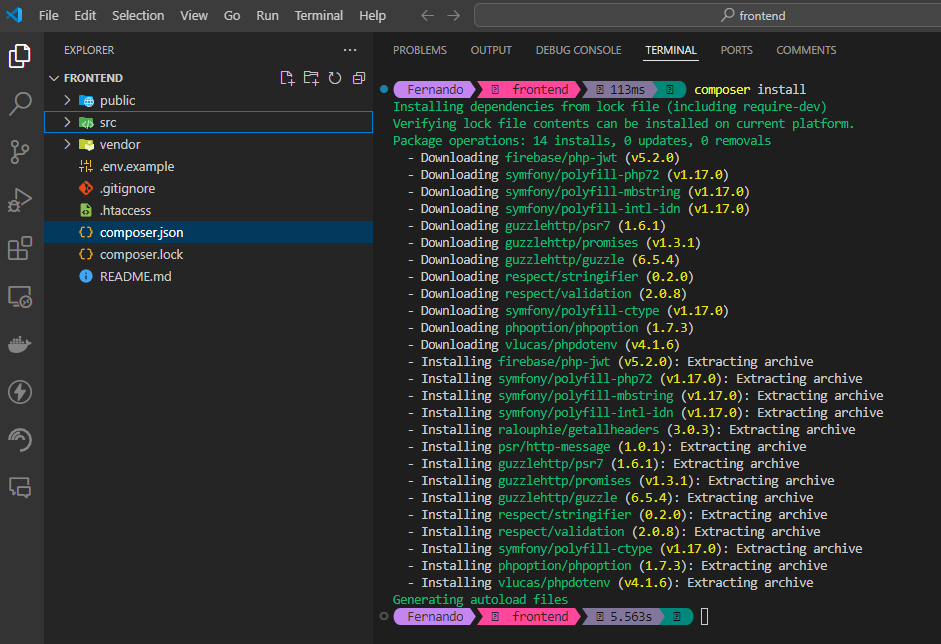
If everything was executed correctly you will see a vendor folder, where all the project dependencies were downloaded.
Frontend Web configuration
Now copy the .env.example file, you can do it manually or in the same Terminal run the command:
copy .env.example .env
If we are in local environment run the ipconfig command to see your IPv4 address. You must configure this IP in the file that you have copied .env in the first line in the CLIENT_URL variable and in the SERVER_URL variable. But if this website is going to be in a WebHosting, the CLIENT_URL must be your domain address and in the SERVER_URL must be the IP of your server will be there.
You must also put your domain's IP or address in the composer.json file. On line 29, in the “start” variable is the same IP that we saw in the .env file, which we must replace.
If we are in local environment we have to execute the command:
composer start
And with this we will have the frontend web project running.
Setup Backend Web
For this project you have 2 databases. One with MYSQL and another with MSSQL. For the MYSQL base you can choose to use XAMPP because it provides us with a MYSQL service and we can manage it in a simple way. For MSSQL we need to install SQL Server.
Install backend dependencies
Now we can put the backend website files in some directory where we want to host the website. You can choose any location on the machine.
We can open the web project using VSCode or any other code editor. Now open Terminal and run the command:
composer install
Configure MSSQL Extension
For our backend we must download and install the MSSQL extensions for PHP.
You should look for the one that has support for PHP 7.2 in case it is that version of PHP that we installed. To see the download links there is an Assets Dropdown, and look for the one for Windows.
Now we go to the directory where we have our PHP files, and inside the ext folder we paste the downloaded files.
Then we open the php.ini file and look for the extension lines. We can quickly go to line 962 to add the MSSQL extension.
extension=pdo_sqlsrv_72_nts_x64
In my case the 72 nts x64 version works because I'm using that PHP Version for this web. However, I have been able to see that in some other cases this may vary, I recommend that if it does not work for you, try another version of the extensions you downloaded.
Backend Web configuration
Now copy the .env.example file, you can do it manually or in the same Terminal run the command:
copy .env.example .env
In the .env file we can configure the server and database configurations.
You must also configure your IP address in the composer.json file.
We have to execute this command to run project:
composer start
In our composer.json file we can see that we have more commands to make database and server configurations. These commands are optional in case we want to be faster in some server configurations. If we want more details we can read the README.md file that is in the root of the project.
If you have any question, you can send me a message to my KoFi

source: content_installation/web/websites/khanakat_v1.md